3D Modeling — Exercises
28.08.2023 — 23.10.2023
Rachel Madeline Purwanto / 0356994
3D
Modeling / Bachelor of Design (Hons) in Creative Media
Exercises
────────────────────⋆⋅☆⋅⋆─────────────────
❥INSTRUCTIONS
❥LECTURE
WEEK 2 — PRIMITIVE MODELING
- Editor: the area where the user edits the object
- Outliner: Layers of the objects
- Properties: Property option for objects
- Timeline: Used to playback and keyframe animation
Shortcuts
1. Rotate view : middle mouse button, hold n drag
2. Track view : shift + mmb, hold n drag
3. Zoom : mmb scroll
- make sure the z coord is the one on the top
- x shud be on the right n y shud be behind x
- ctrl opt q to open the 4 window perspective angle thig n close it
- shift right click to any part of the screen where u wanna put ur
cursor
- drag cursor above multiple objects to select all
- shift d to duplicate
- x to delete
Transform Pivot Point
- individual origins is to rotate or transform separate objects but at the
same time when selected multiple objects
- active element : can select one element as a pivot point to move other
multiple objects that were selected
- 3D cursor : can be used as a pivot point positioned in the world
origin
Using 3D cursor as a pivot point to mirror objects
1. 3D cursor
3. Duplicate object
2. Hover over object, mirror then choose
Object Hierarchy
- To parent object, select the object and press cmnd P
- To unparent : select the object and click alt + P
- To set child under parent object, on outliner hold shift and click and drag
to the parent object
WEEK 3 — CYLINDRICAL MODELING
Modeling Techniques
- Polygon
- Curved base modeling
- Sculpting (Advanced)
Polygon Components
- Vertex
- Edge
- Face
Fig 1.1 Switch to edit mode to edit the vertices, edges and face of the
object
Polygon Modeling Tools
1. Inset
- Select face and press I then move mouse leftward
2. Extrude (to extend the shape)
- Select face
- Press E
3. Bevel (to curve out edges)
- select edge
- press cmnd B
- move cursor rightward
Easier selection using "edge loop"
- To select edge loop : Shift Opt click at any edge
Modeling Wireframe
Low polygon > In object mode > Smooth modifier (cmnd 1/cmnd 2) >
adjust sharpness/smoothness of the corner
Loop Cut
- Cmnd R
- Drag lines to make inward folds look smoother when using the smooth modifier
or to make an edge look sharper
WEEK 4 — MODELING WITH A BOX
To use mirror
- 3D cursor to world origin
- Select the object
- Click Shift D to duplicate and make sure the object is at the og position
- Click mirror X or Y
If you cant add a loop cut on one of the surfaces due to bevel, select two
vertices and press J to connect the vertex path.
❥TASK
Exercise 1 — Primitive Modeling
1. Sketch
Fig 1.1 Rough Idea sketch
My initial idea was to create a 3D arcade machine combined with the
shapes we learnt to create and modify in the second week so I started out
with the sketch first.
2. 3D modeling in Blender
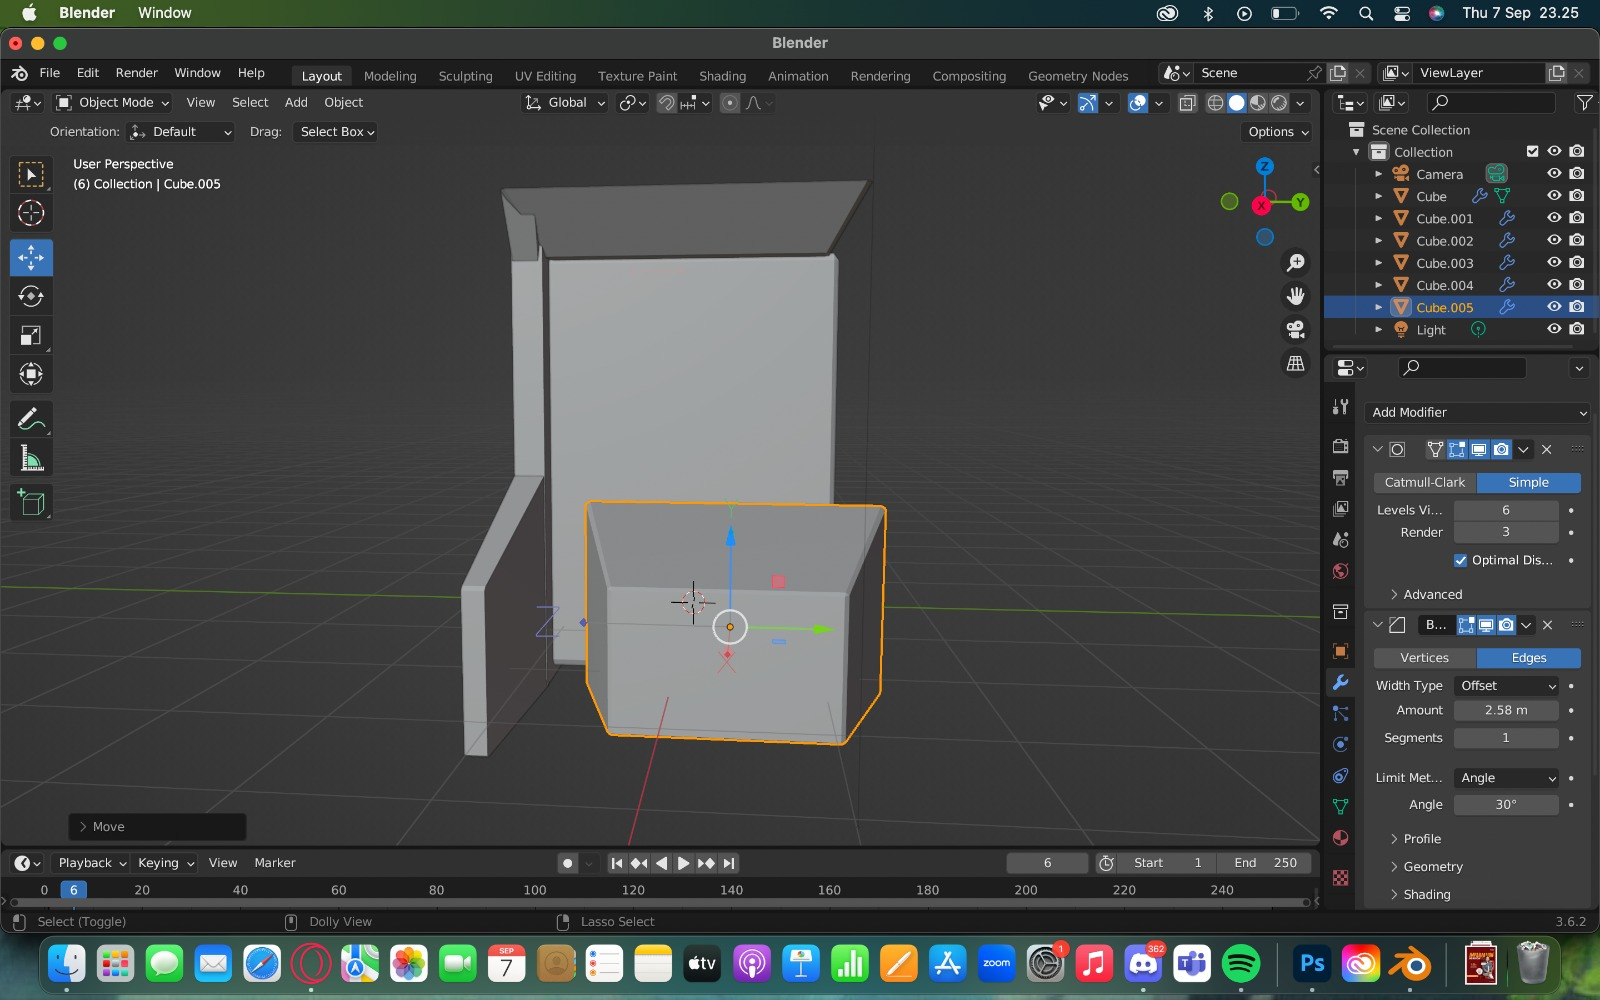
Fig 1.2 Progress on Primitive Modeling
I started out with cubes to create trapeziums using modifying tools,
specifically the subdivision and the taper tool. Since my initial idea was to
make an arcade machine, I wanted only one side of the cube to be slanted and
not the right and left side of the cube so I turned on restrictions under the
simple modify taper tool and also moved the origin point to the corner of the
object then played around with the taper tool.
Fig 1.4 Progress on Primitive Modeling
Fig 1.5 Buttons and Joystick
I used cylinders for the buttons and torus to make the button look more
dynamic and detailed. The buttons were made to be slightly smaller than
the joystick following the general scale of an arcade machine with the
joystick and buttons.
After the overall structure was complete, I added subdivision and bevel
modifiers to curve out the corners and to make it look smooth.
3. Colouring
Fig 1.5 Trying out colours in Blender
After figuring out the colours I tried playing around with the lighting
and added light from 2 sources with different colours.
Fig 1.6 Before Feedback Primitive Blender
Fig 1.7 Wireframe of Primitive Blender
Fig 1.8 After Feedback Final Submission for Primitive Blender
Exercise 2 — Cylindrical Modeling
For this exercise we are required to make a composition from multiple
objects such as plates, wine bottles, glasses, etc. We are to model the
object using a primitive cylinder by utilizing modeling tools like
Extrude, Bevel, Inset and Loop cut.
1. Sketch
Fig 2.1 Rough Sketch Idea
I first did a sketch to get a general idea of how the shapes looked
like and how I would arrange the layout and the composition.
2. 3D modeling in Blender
I started out with the sushi first using cylinders and played around with
different aspects of the extrude tool. I had to make some of them shape by
shape and put them together in order to add colour to the shapes
separately. I used bevel to smooth them out and subdivision for the sushi
to have the seaweed slightly curved in. I made a hole in the middle of the
second layer so it has the effect of sinking in for the middle of the
sushi.
Fig 2.3 Sake bottle
The saucer, tea pitcher and cup of matcha used extrude for its overall
structure and inset to create a hole in the object. To curve it out and
smooth it I used bevel.
3. Colouring & Composition
I tried to balance out the colouring and tried not to have too many
dark colours or white colours to have it balanced throughout the
composition. I proceeded to adjust the camera and the angle of the
composition and made it slightly above eye level to show depth and
shadow to the objects. I angled the shadow in a way where you could see
a rough silhouette of the objects to give it depth.
Fig 2.6 Final Submission for Cylindrical Modeling
Fig 2.6 Final Submission for Cylindrical Modeling With Different Lighting
Fig 2.6 Final Submission for Cylindrical Modeling With Wireframe
Exercise 3 — Modeling from Box Shape
For this exercise we are to construct an object using primitive cube by
utilizing modeling tools that we have learnt in class using box modeling
techniques. We are allowed to combine the cube with other shapes such as
cylinders, spheres, etc but the cube but the dominant shape must be a box.
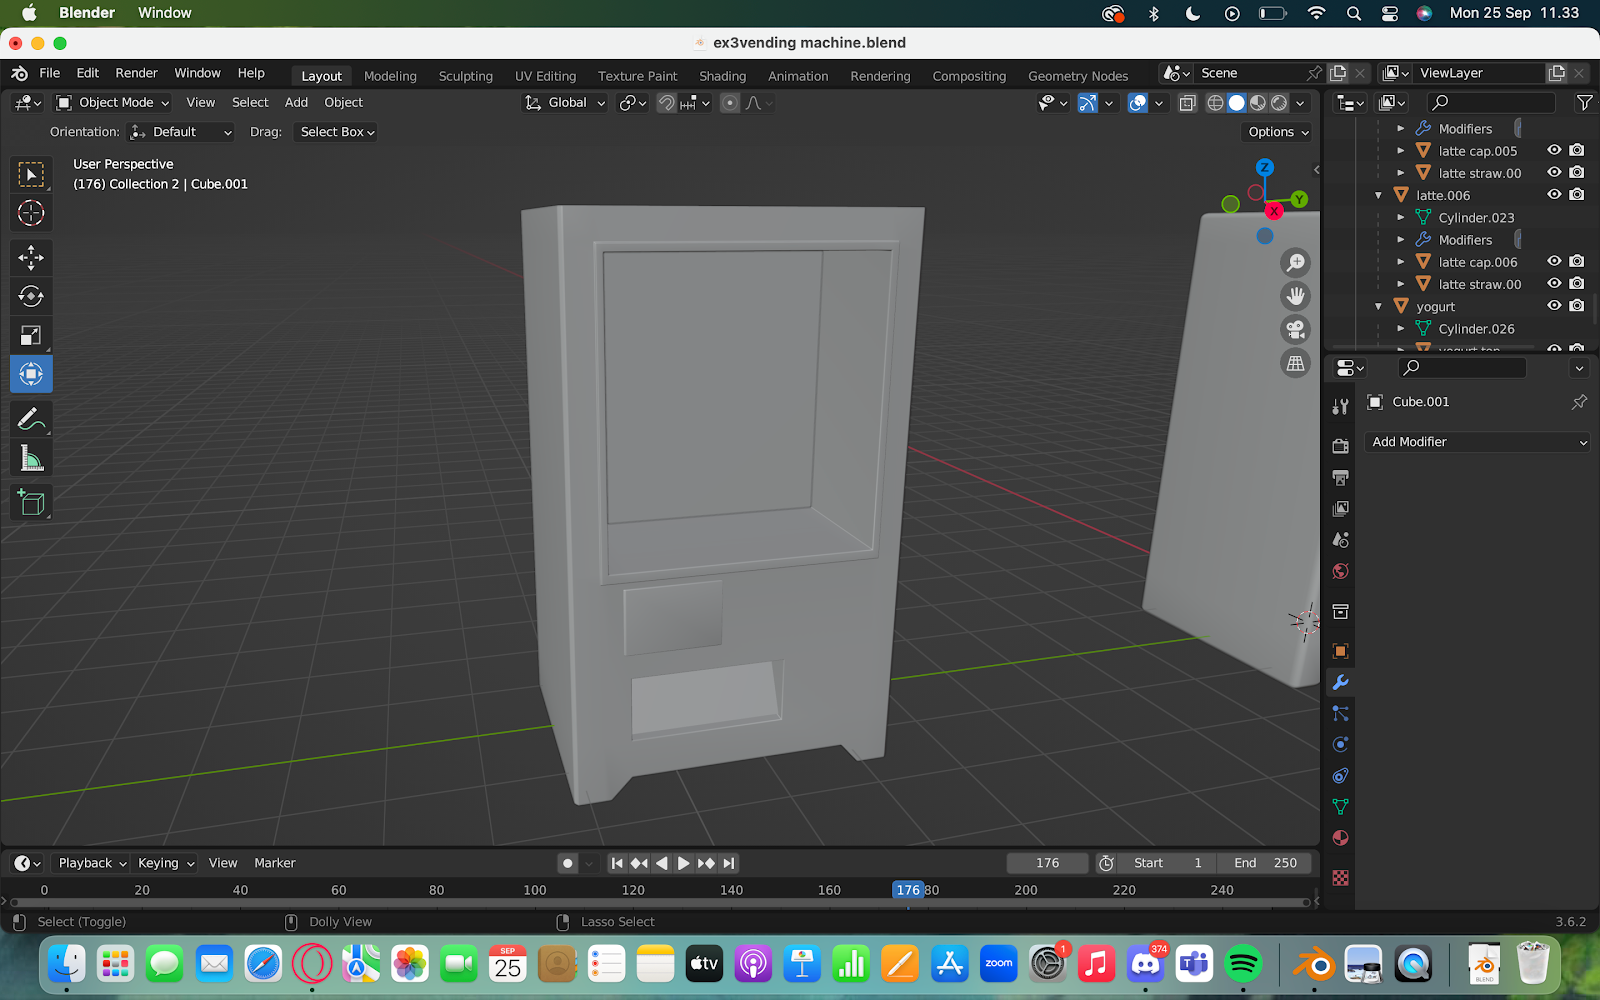
Fig 3.1 Shape of vending machine
I started off by using a cube to create the basic shape of the vending machine and added loop cuts then slowly worked my way to add in the details of the vending machine.
Fig 3.2 Details of vending machine
The details of the vending machine are made using loop cuts, extrude,
bevel and the scale tool and are coloured separately.
Fig 3.3 Crates
The crates are made out of cubes which used loop cuts to make the gaps
inbetween.
Fig 3.4 Final Exercise 3 Vending Machine
Fig 3.5 Final Exercise 3 Vending Machine Wireframe
For this exercise, we are required to model a karambit based off the given
blueprint.
Fig 4.1 The handle
Fig 4.2 Progress of the handle of the karambit
The handle was made mostly with the use of loopcuts and scaling
according to the blueprint.
Fig 4.3 Blade of the karambit
The blade of the karambit was also made by using the mirror modifier.
Fig 4.4 Final Karambit
Fig 4.5 Karambit wireframe
❥FEEDBACK
General Feedback
- Use shade smooth to make shapes look smoother
- Extend the base to make the composition more balanced
- Consider the overall composition and the focus of the layout
Specific Feedback
The lighting is too advanced as it utilizes viewport shading and eevee
rendering thus needs to be downgraded but overall structure, composition and
shape looks good.
Week 4
General Feedback
- Ensure to not use eevee rendering
- Make sure to create a balanced composition throughout the objects
Specific Feedback
Overall the structure of the objects look good and the layout, shadow and
composition is good, the only thing that could be fixed is the spacing
between the objects to be a bit tighter to make the composition less
awkward.
❥REFLECTION
Starting this module was a bit of an excitement for me so I have to admit that I got carried away sometimes trying out new tools or exploring foreign areas of the program before it was taught in class, but doing these exercises gave me a head start and the gist of the overall tools to make certain objects. I also got to try various methods to model as Mr Kamal mentioned that some people would prefer to subdivide then only start modeling the details and some people would do everything in low poly then only subdivide and work their way to adjust using loop cuts and I tried both methods n found the first one easier and quicker for me to follow.


.png)


Comments
Post a Comment