Sonic Design — Final Project
21.06.2024 — 26.07.2024
Rachel Madeline / 0356994
Bachelor of Design
(Hons) in Creative Media
Final Project — Game Audio
❥INSTRUCTIONS
❥TASK
For this task, we are instructed to choose a video game clip and add
sound effects to it by recording with our own materials and editing
and manipulating the sound effects using Adobe Audition. For this
project, I went with Hollow Knights.
1. OBSERVING & PLANNING OUT PROCESS
First off, I wanted to observe the video game footage and take notes of
every action or object that would make a sound. This includes the
actions from the characters itself as well as its surroundings and
environment. During this process, I also had some ideas on how to
execute the sound effect so I wrote them as extra notes as well, then I
grouped the sound effects under each category so I had a rough idea of
what sound effects that I have to come up with.
Before starting on the editing process, I also watched the gameplay
since I wanted a reference on how the actual sound effects sounded like
and made some observations.
Fig 1.1 Hollow knight gameplay
Fig 1.2 Audio Assets Sheets
2. RECORDING & EDITING PROCESS
For the recording, I had to do some in my room at home since I
flew back to my country earlier thus I didn't have the
opportunity to do the recording at the studio, but I noticed
that recording with my earphone mic wasn't really effective for
some sound effects since it didn't really capture the base sound
and there was also white noise in the background which means
extra work since I'd have to edit that out, so I had my friends
help record in the studio on campus.
I imported the video into adobe audition so I could time the
sound effects along with the video.

Fig 2.1 Progress on editing
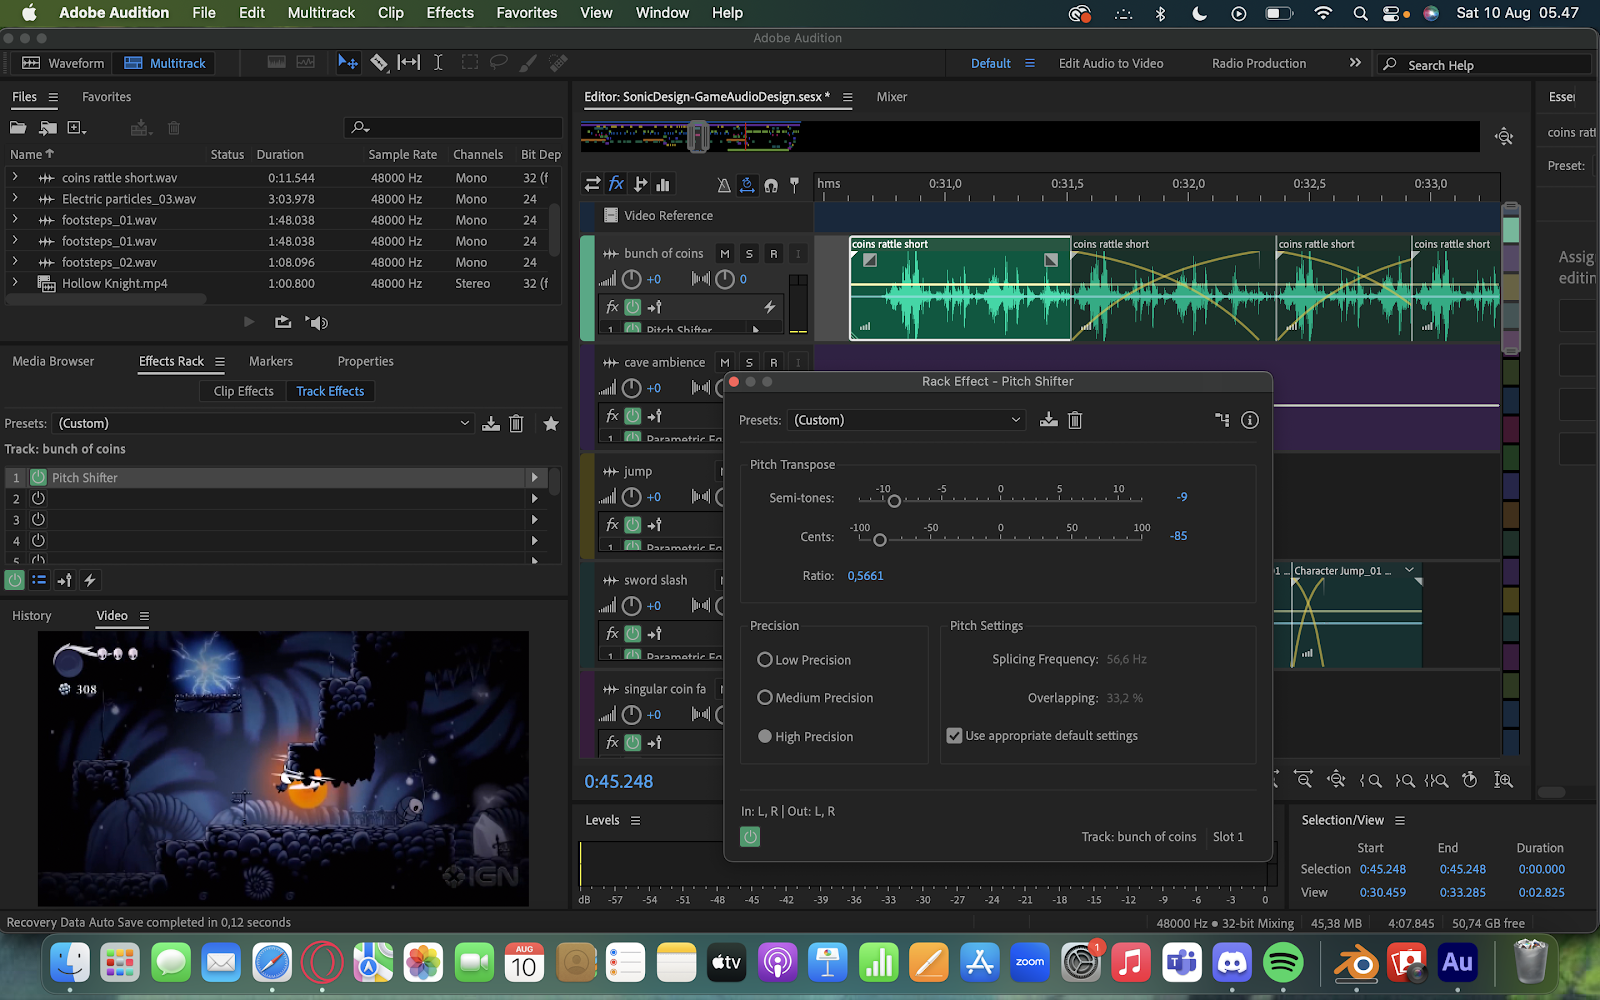
Fig 2.2 Bunch of coins falling sound effect
To differentiate the sound effect between the coin falling and
the coin collecting sound, I took the audio from the keychains
shaking, cropped it and used pitch shifter to adjust it.

Fig 2.3 Collect coin
For certain sound effects like for instance, the electric
spark and the bug buzzing noises, I adjusted the volume
graph according to the distance of the character from the
object to get a sense of proximity and depth of the
environment meaning that the further the object is from
the character, the ore faded the sound is.
For the ambience background noise, I used pitch stretch
and effect multiple times on top of each other to achieve
that distorted sound effect.
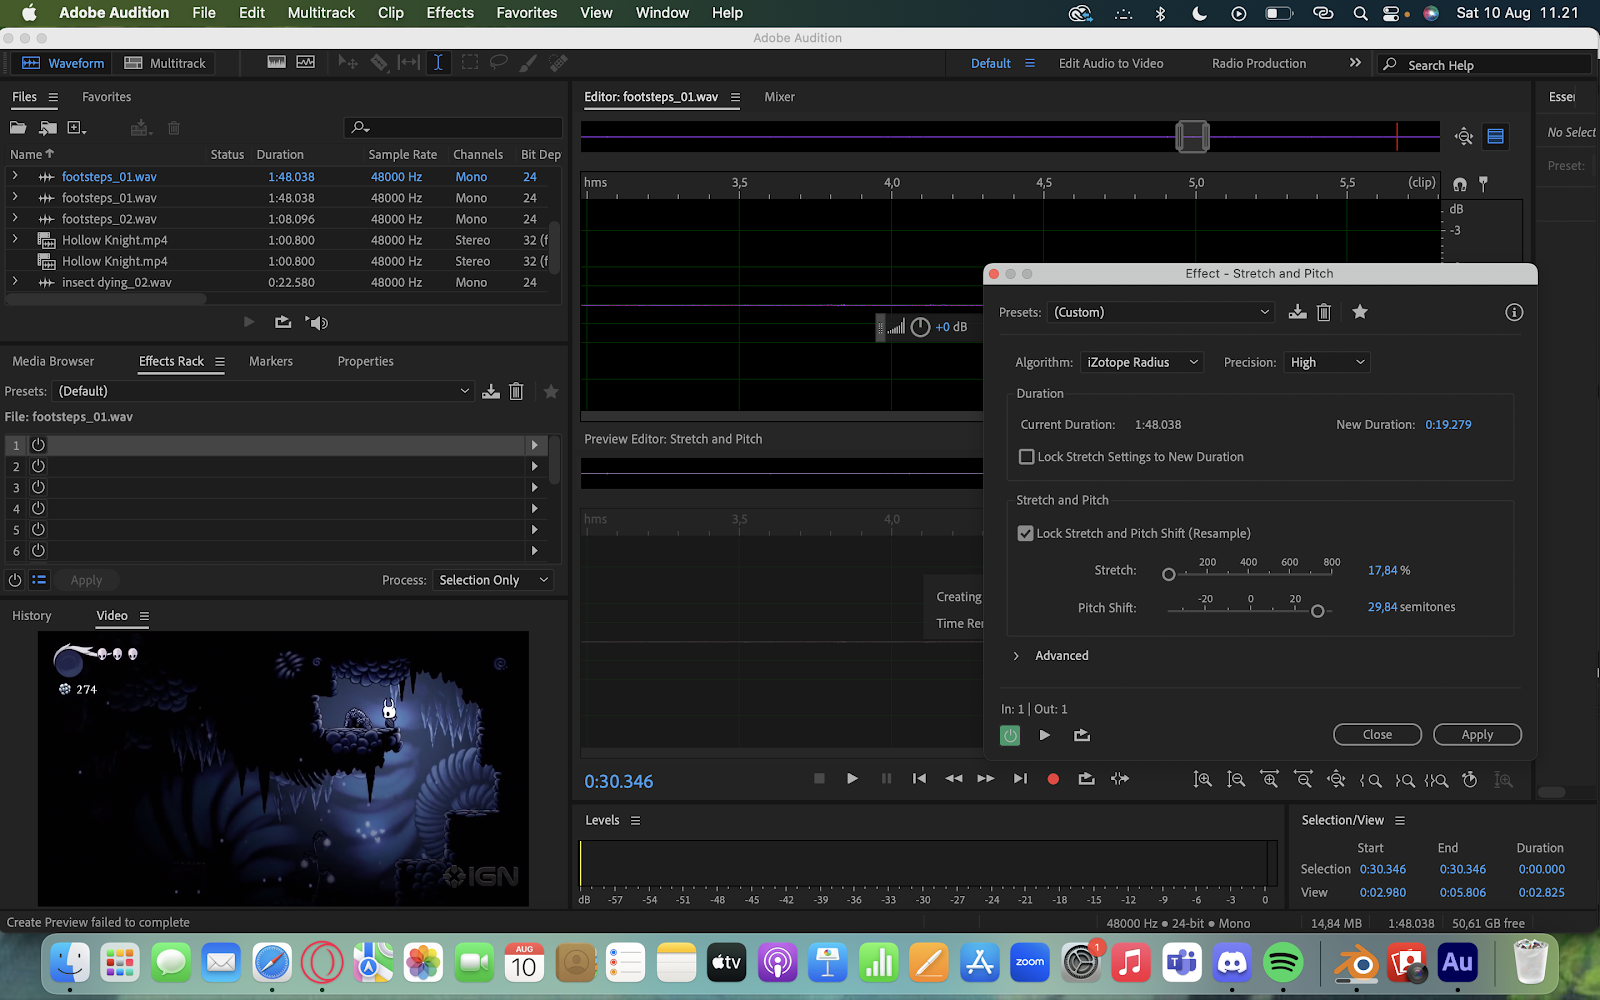
Fig 2.4 Pitch and stretch effect
For the sword, I made a woosh noise using the hanger I mainly relied on distortion effect to achieve the high pitched woosh noise and used reverb to emphasize and dramatize the sound effect but I felt like it was too similar to the jump sound effect and needed to mimic a sword sound noise so I used the metal scraped against surface sound and adjusted its pitch and reverb to layer it along with the woosh noise.
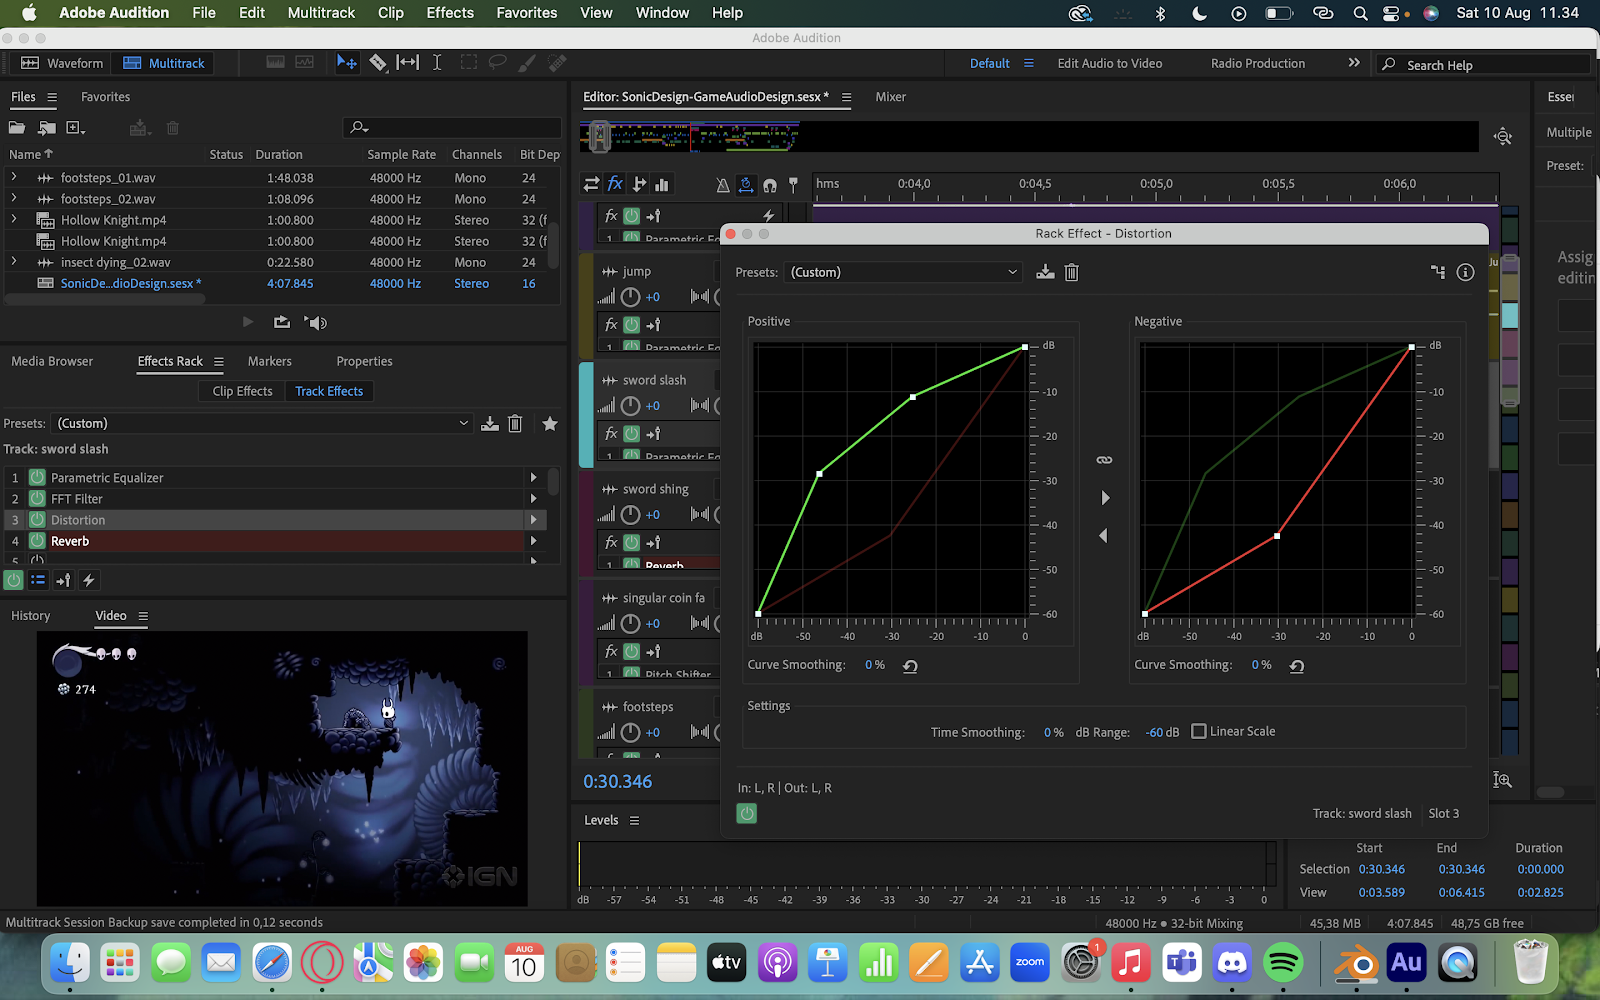
Fig 2.5 Distortion on sword sound effect
Fig 2.6 Sword swoosh sound effect before shing
Fig 2.6 Sword woosh noise before adding layer with "shing"
sword slice noise


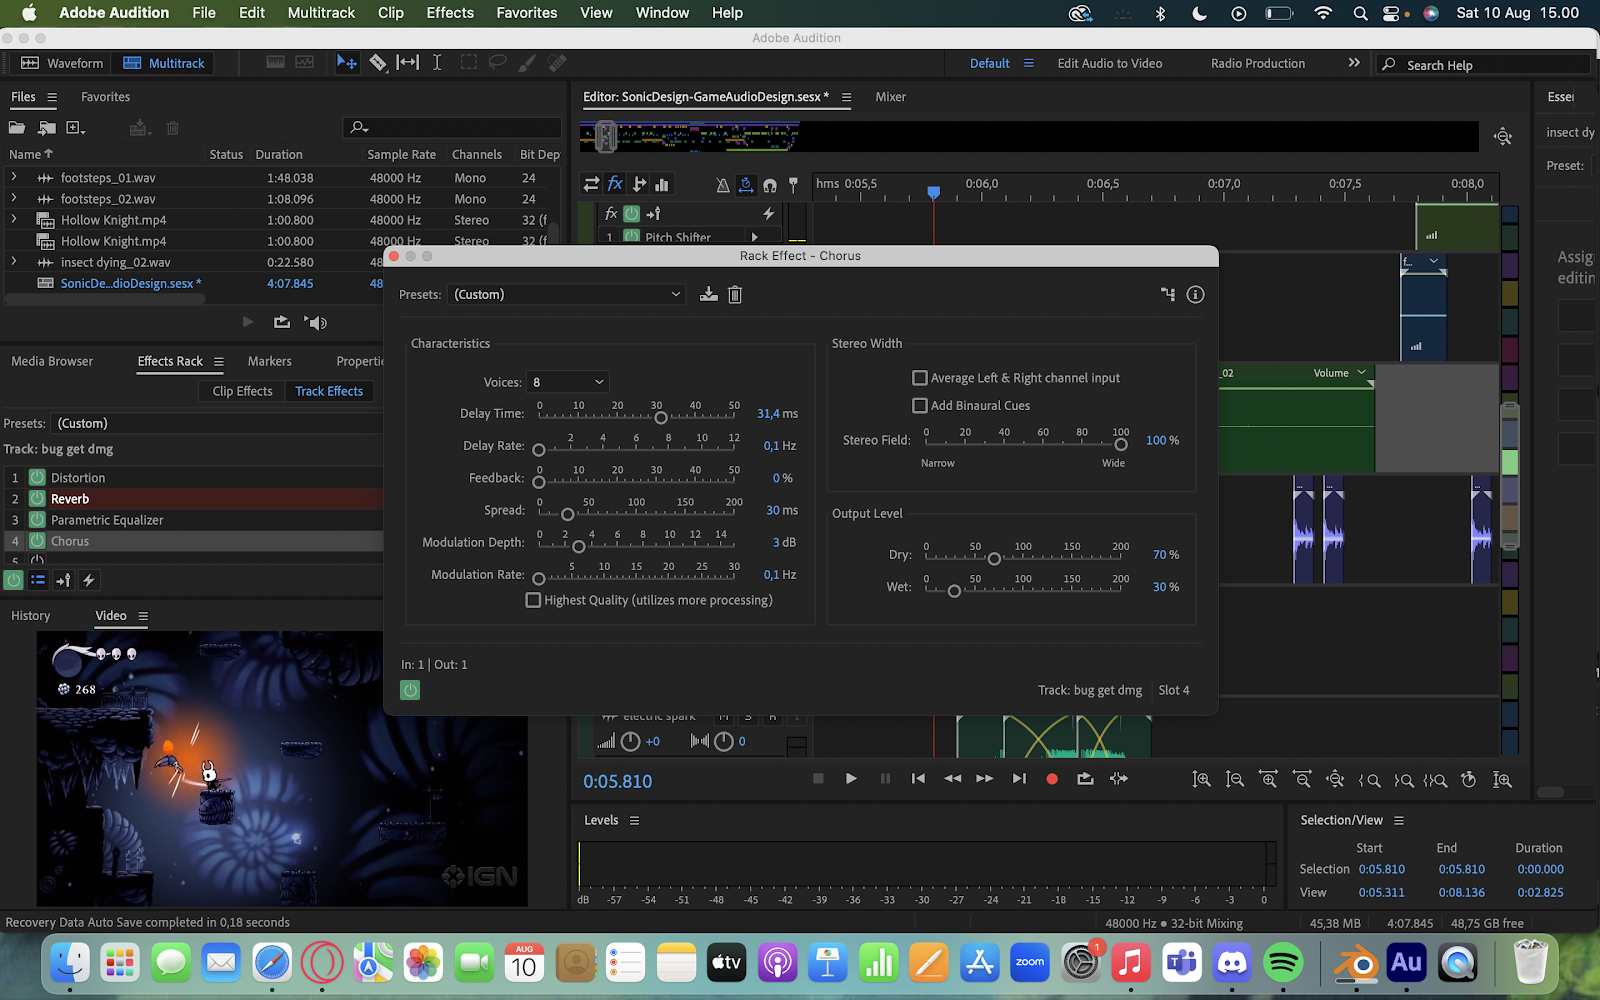
I decided to create two different sound effects for when the bug gets hit and when the bug dies, so I took the audio of the wet tissue getting squirted to make the bug shriek getting damage. This sound mainly relied on distortion effect and chorus, by adding more voices and increasing the spread.

These two sound effects were also used for when the big bug gets hits and dies except the pitch was lower since its a bigger bug and the reverb was also increased.
Footsteps were made by poking a plastic bag with fingers then to create that "footsteps on cobblestone" sound effect, I played around with the pitch shifter, reverb and paramatic equalizer. The reverb gave more depth to the footstep sound and really helped a lot to achieve that footsteps sound effect. I then cropped it and timed it according to whenever the character walked.
Fig 2.7 Footsteps reverb
For the landing I also took it from the footsteps audio but wanted it to have a heavier impact than what the footsteps sounded so I added more decay time for the reverb and added 2 pitch shifters to adjust the pitch to be lower.
Fig 2.8 Landing pitch shifter
I decided to create two different sound effects for when the bug gets hit and when the bug dies, so I took the audio of the wet tissue getting squirted to make the bug shriek getting damage. This sound mainly relied on distortion effect and chorus, by adding more voices and increasing the spread.
For the bug death, I decided to use the bottle of pills shaking since it had more of an impact than the wet tissue squirting and added more voices for the chorus modulation to add depth to the shriek. To top it off, I added pitch shifter to adjust the pitch to be higher and reverb for both of them but the bug shriek when it dies having more reverb to exaggerate it more than when it gets hit.
Fig 2.9 Chorus Modulation on bug shriek when hit
Fig 2.10 Chorus Modulation on bug shriek when dead
I adjusted the volume levels for each of the objects and the creatures according to the proximity and distance between that object and the character to make the scene more dynamic and realistic.
Fig 3.0 Final Game Audio Edited
Fig 3.1Audio Journal
❥REFLECTION
Throughout this project, I got to explore and experiment with
various aspects and features of Audition that I have never tried
before to achieve the desired sound effect which was a pretty
fun process of trial and error. This project was overall pretty
fun and new to me as I've never done anything like this before
but one missed opportunity that really made me regret returning
to my hometown early was having the opportunity to record in the
studio with my friends. Throughout the process of editing, my
laptop took sometime to playback the preview and also kept
freezing and loading so it was a pretty meticulous and time
consuming process as well.

nice layering and detailing.
ReplyDelete